
DIY: Car Photo Booth (Post sponsored by Volkswagen)

People often ask us what you need for a really good party. Well it depends what type of party, but we think good food, delicious drinks, cool decorations and a photo booth are the real essentials. Photo booths are a great ice-breaker, and can be such a good laugh ;-) We joined forces with Volkswagen to dream up an excellent idea for your next party: a Beetle photo booth.
In letzter Zeit werden wir immer öfter gefragt, was auf einer Party auf gar keinen Fall fehlen darf. Natürlich kommt das immer auf die Party an, aber für uns gehören gutes Essen, leckere Drinks, hübsche Deko und eine Photo Booth einfach dazu. Gerade Photo Booths lockern die Stimmung auf und machen wahnsinnig viel Spaß. Gemeinsam mit Volkswagen haben wir uns daher eine tolle Photo Booth Idee für eure nächste Party einfallen lassen: Eine Käfer Photo Booth!
Auto Photo Booth
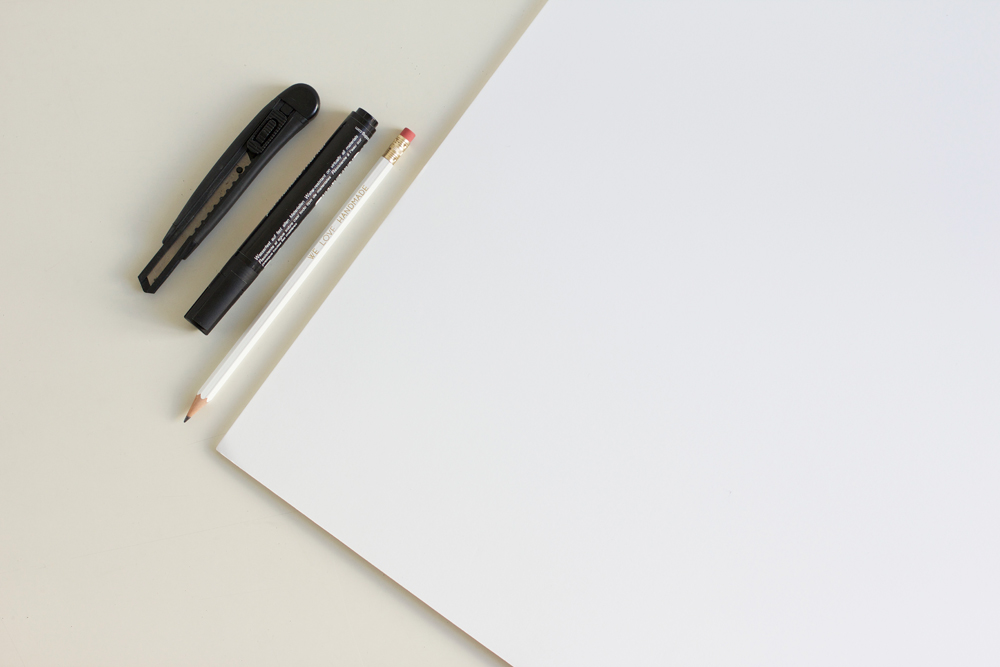
Ihr braucht:
weiße Leichtstoffplatte (10 mm dick, 100×140 cm groß)
Schneidematte
Stanleymesser
Bleistift
Radiergummi
schwarzer Marker
ev. Klebeband
Car photo booth
You will need:
White lightweight board (10mm thick, 100x140cm)
A cutting mat
A Stanley knife
A pencil
A rubber
A black marker
Sticky tape (optional)
So geht’s:
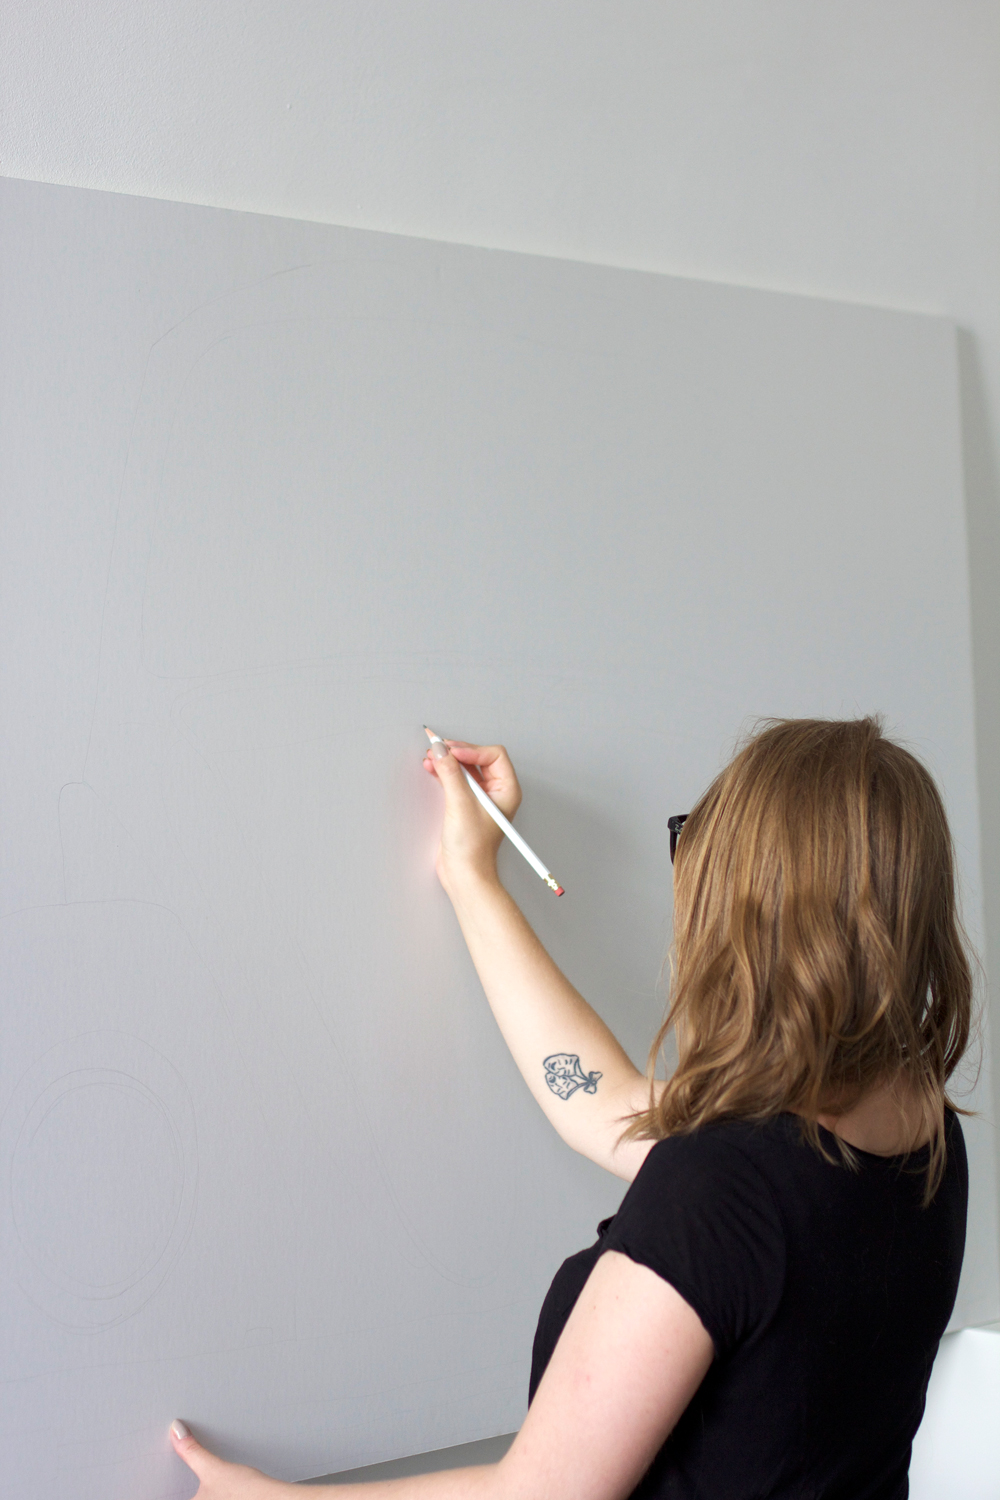
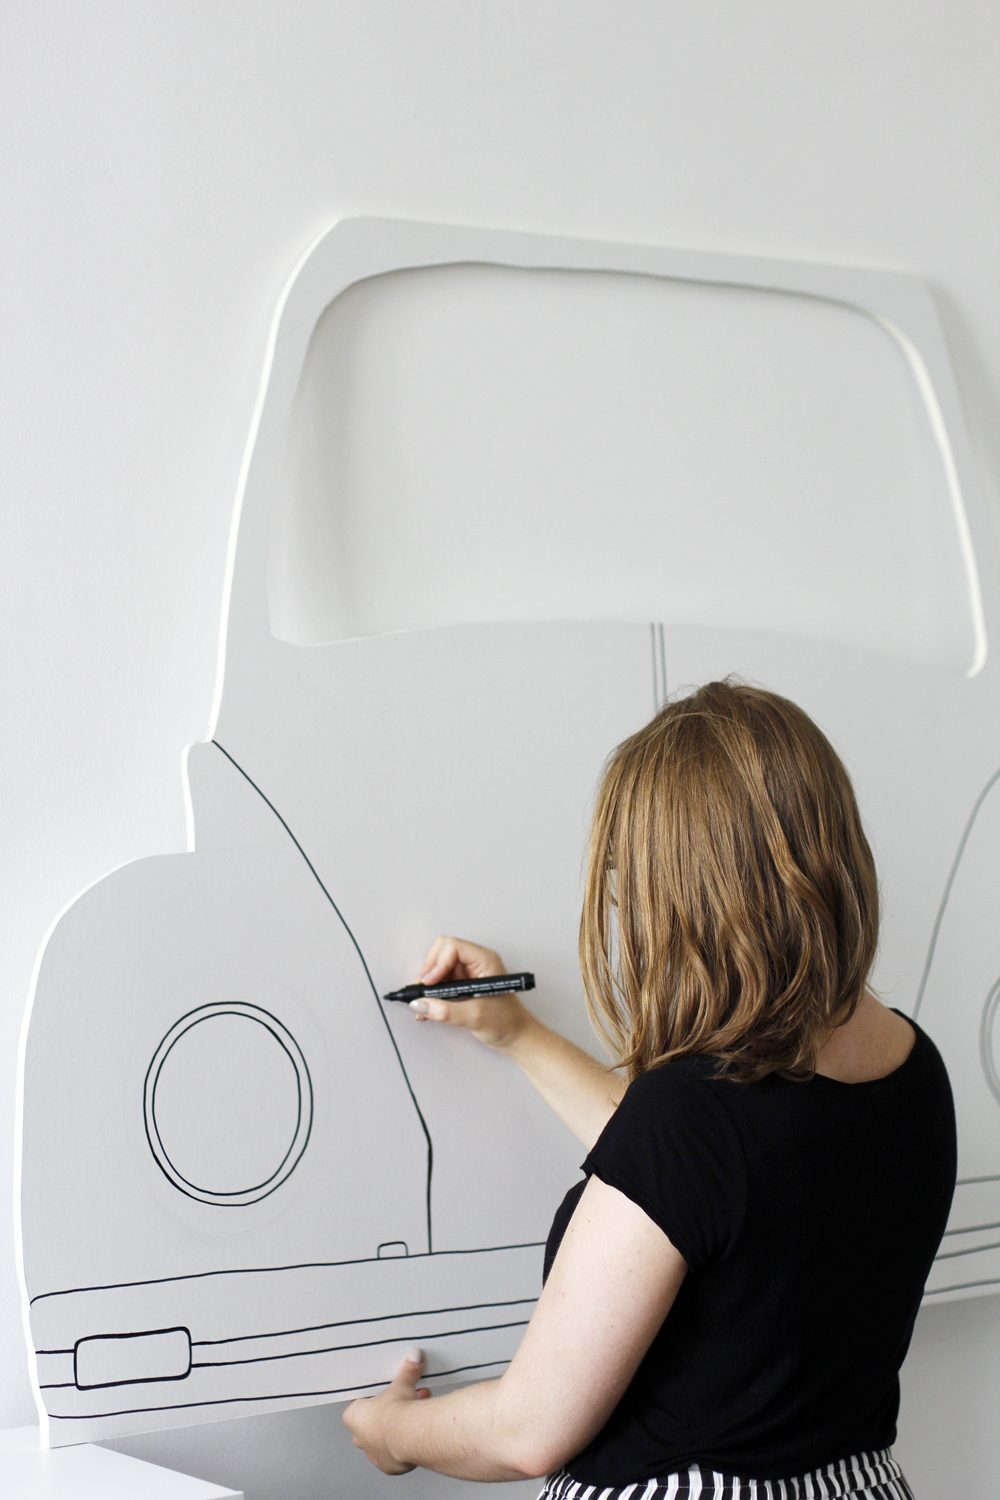
Zunächst müsst ihr euch die Form eures Autos mit einem Bleistift auf eurer Platte vorzeichnen. Legt die Platte dafür auf den Boden oder stellt sie auf. Wir haben uns für die Frontansicht eines alten VW Käfers entschieden und die Form im Stehen auf die Platte gezeichnet. Unser Tipp: Wer Freihand nicht so gut zeichnen kann, kann sich eine Vorlage seines gewünschten Motives raussuchen, dieses mithilfe eines Beamers auf die Platte projizieren lassen und anschließend abpausen.
What to do:
First draw the outline of your car on the board with a pencil. You might want to put the board down on the floor to do this, or stand it upright. We drew a VW Beetle from the front, standing next to the upright board while we did so. Our top tip: if you can’t draw very well freehand, find a template for the shape you want then use a projector to project it onto the board, and trace over it.
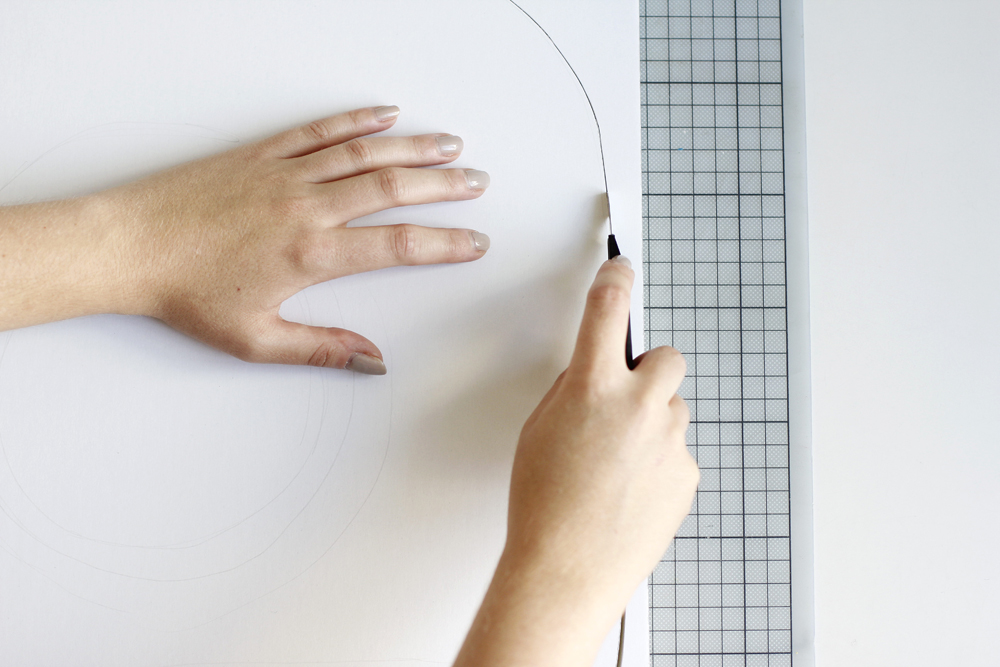
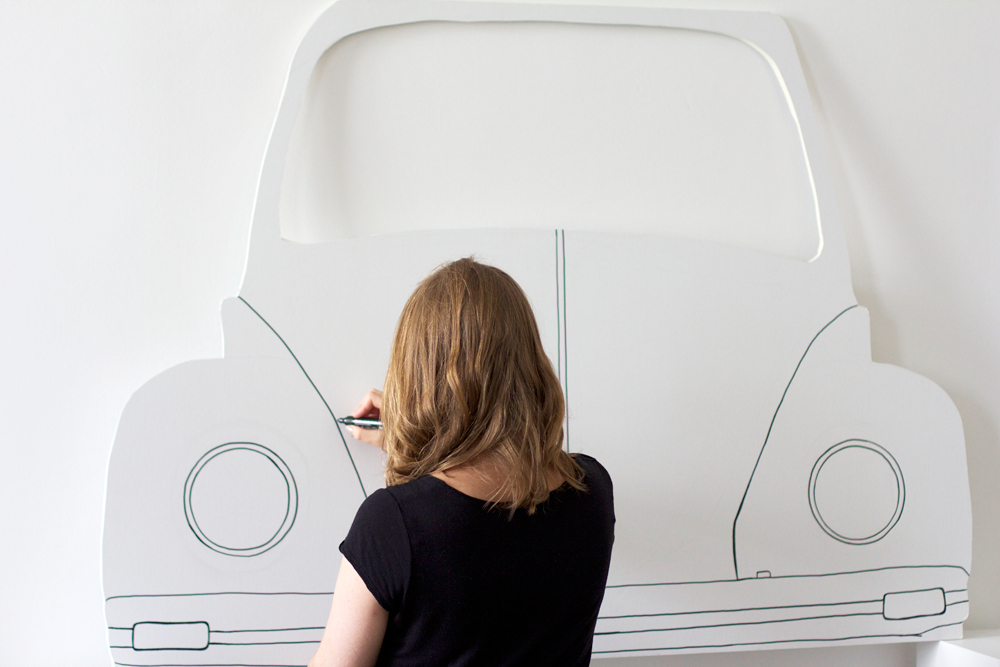
Sobald euer Auto grob vorgezeichnet ist, könnt ihr die Konturen auch schon mit einem Stanleymesser auf einer Schneidematte ausschneiden. Bei der Windschutzscheibe sind zwei Dinge besonders wichtig: Achtet darauf, dass sie einerseits groß genug für eure Köpfe ist, andererseits der Rahmen aber auch stabil bleibt. Ihr solltet an den Seiten daher unbedingt ein paar Zentimeter stehen lassen, da es sonst passieren kann, dass die Photo Booth schnell zu Bruch geht. Sobald alles schön ausgeschnitten ist, könnt ihr eure mit Bleistift vorgezeichneten Linien mit einem schwarzen Marker nachziehen. Die Bleistiftlinien danach einfach mit einem Radiergummi ausradieren. Wir haben unser Auto minimalistisch gelassen, da es uns so schon sehr gut gefallen hat. Aus den Resten der Leichtstoffplatte könnt ihr zum Beispiel noch Autoreifen oder Props gestalten, wie zum Beispiel ein Lenkrad. Die Autoreifen haben wir aus der ausgeschnittenen Windschutzscheibe gestaltet und hinten einfach mit Klebeband befestigt. Sobald euer Modell fertig ist, könnt ihr direkt eine Probefahrt einlegen.
Once you’ve got a rough outline of your car, use a cutting mat and Stanley knife to cut it out. There are two things to watch out for with the windscreen: firstly, make sure it’s big enough for people’s heads to fit inside, and secondly check the frame will be strong enough. Leave a good couple of centimetres of board all around the edge, or your photo booth car could soon be wrecked. When you’ve cut everything out, you can go over the lines you sketched in pencil using a black marker pen. Then simply rub out the pencil marks. We kept our car simple, since that’s the way we like it. You could use the rest of the board to make car tyres or other props: perhaps a steering wheel? We used the leftover windscreen area to make the tyres, and stuck them onto the back of our car using tape. Once your model has rolled off the production line, why not take it for a test drive?
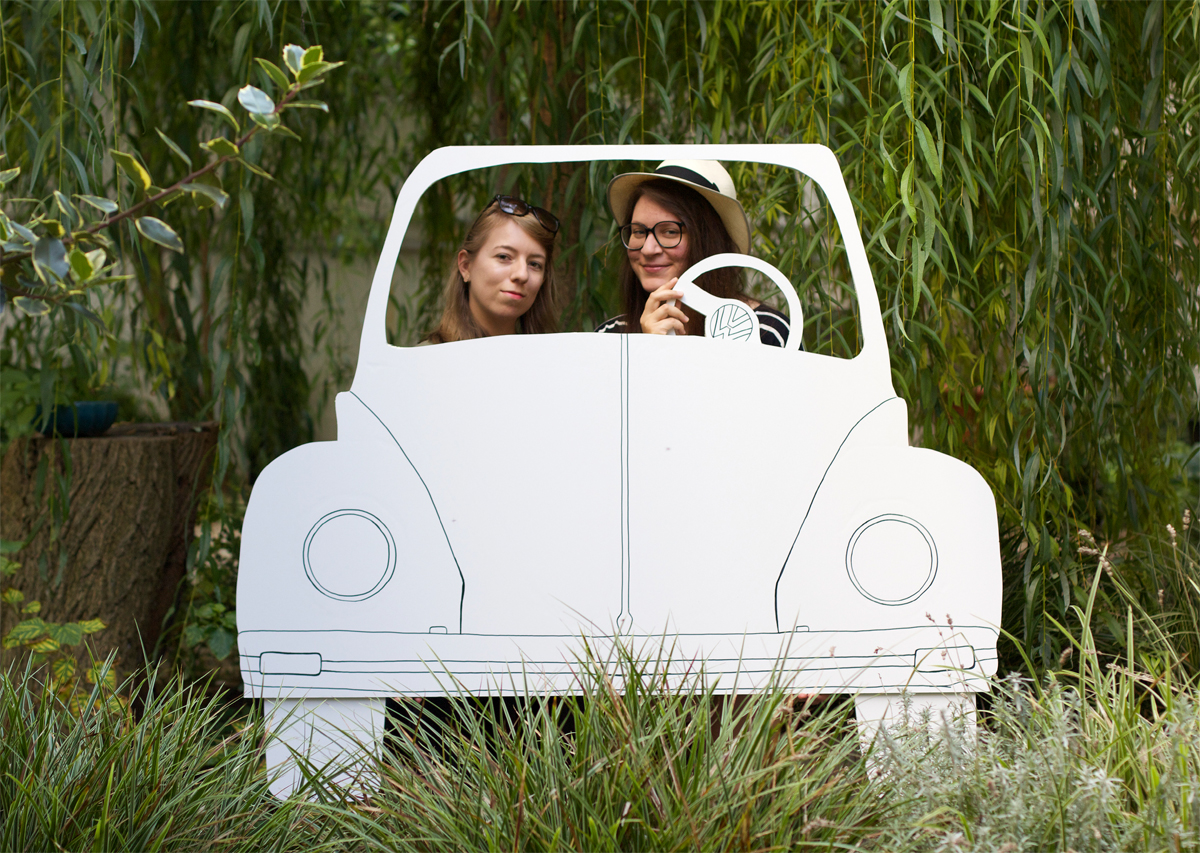
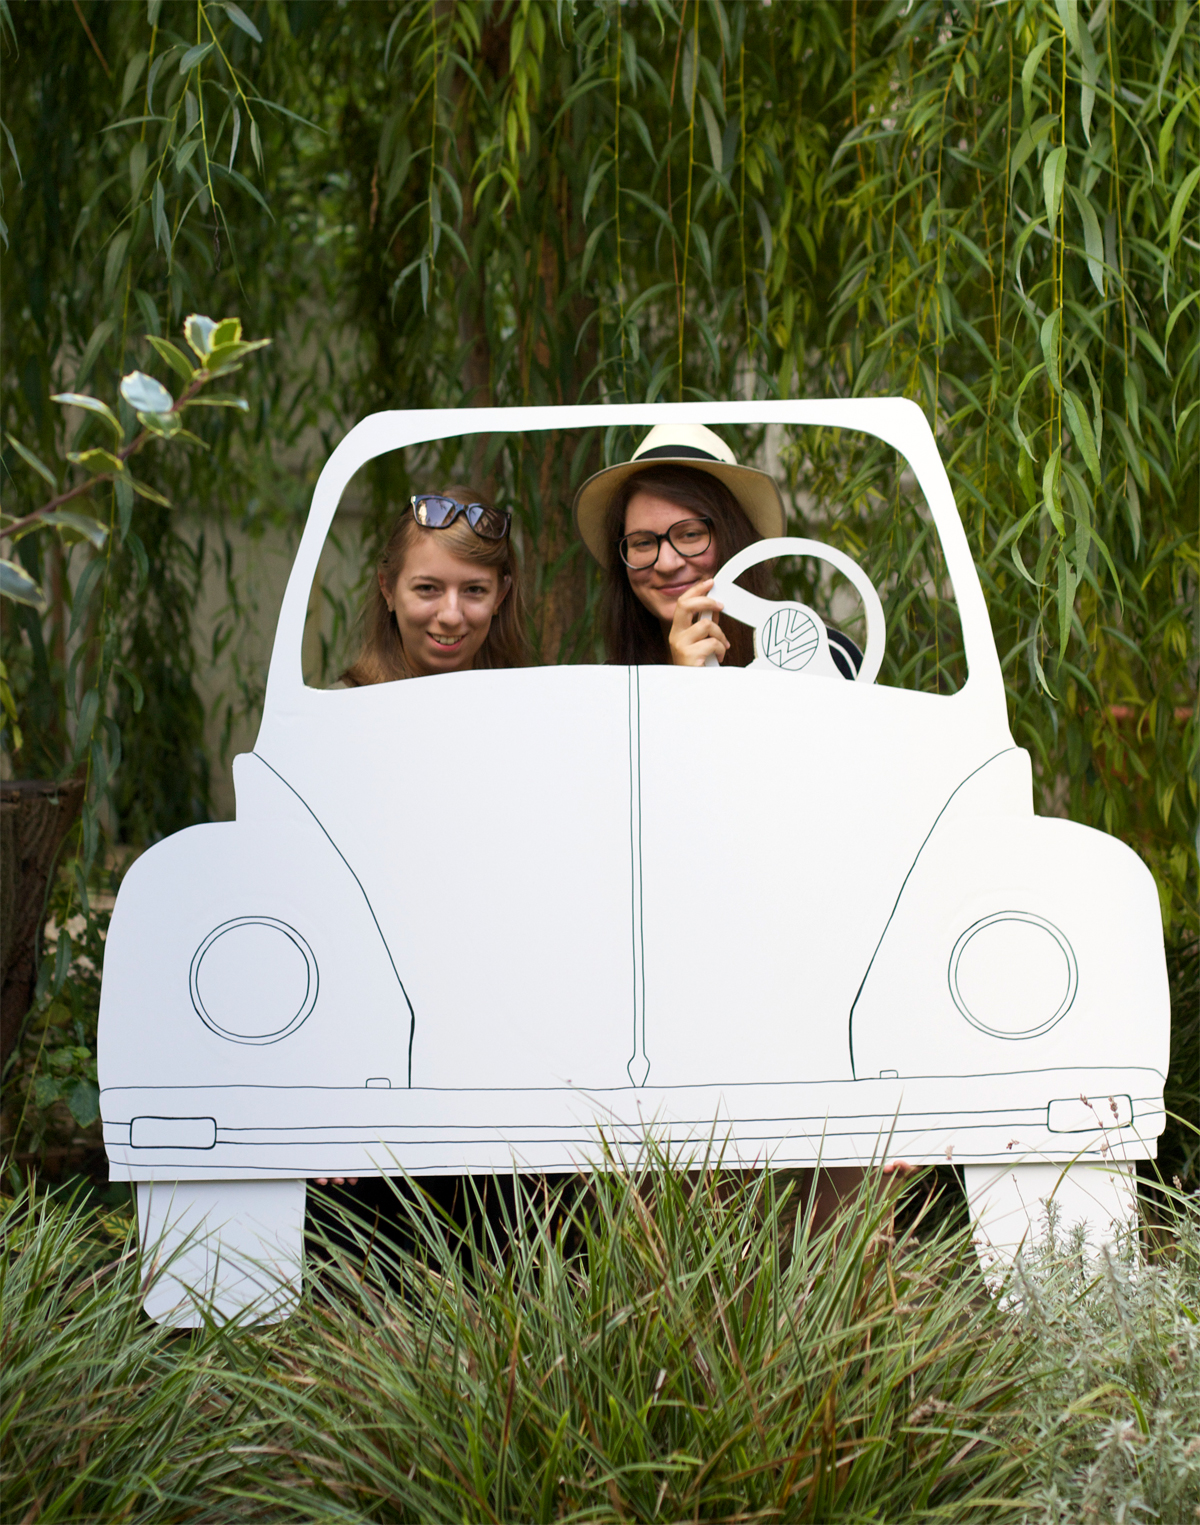
Anna und ich haben mit unserer hübschen Photo Booth gleich einen kleinen Ausflug in die Natur unternommen. Schön war’s! Im Rahmen unserer Kooperation mit Volkswagen sind bereits mehrere DIYs entstanden und auch andere kreative Bloggerinnen haben sich spannende DIY-Tutorials einfallen lassen. Auf dem Pinterest-Gemeinschaftsboard „DIY Bloggers for Volkswagen“ von Volkswagen findet ihr alle bisherigen DIYs.
Anna and I went for a drive in the countryside in our Beetle booth. We had a lovely time! We’ve already done quite a few DIY projects in association with Volkswagen. Other creative bloggers have also come up with some cool DIY tutorials. You can see all these other projects on the Volkswagen Pinterest community board ‘DIY Bloggers for Volkswagen’.
Konzept/Designed by: we love handmade
DIY/DIY tutorial: Petra Gschwendtner
Fotos/Photos: Anna Heuberger
Sponsored Post: Dieses DIY entstand in Zusammenarbeit mit Volkswagen. | Sponsored post: This DIY was produced in association with Volkswagen.

Hallo, ich habe eine Frage, ist es auch möglich den vw auto rahmen über Euch zu kaufen? Wenn ja wie viel würde es kosten? Ich habe leider nicht das tolle Talent so etwas selbst zu machen.
Danke Isabella Krabacher